2022 bmw x5 45e manual
The 2022 BMW X5 45e is a plug-in hybrid SUV, offering a blend of performance and efficiency. It features a 3.0L turbocharged engine paired with an electric motor, delivering 389 horsepower and 442 lb-ft of torque. With its xDrive all-wheel-drive system, the X5 45e combines sporty handling with eco-friendly capabilities, making it an appealing choice for environmentally conscious drivers seeking luxury and versatility.
The 2022 BMW X5 45e is a plug-in hybrid variant of the iconic X5 SUV, designed to deliver a perfect blend of luxury, performance, and sustainability. It combines a powerful 3.0L turbocharged inline-6 engine with an electric motor, producing 389 horsepower and 442 lb-ft of torque. This hybrid system allows for both electric-only driving and combustion-engine power, catering to eco-conscious drivers without compromising on BMW’s signature driving dynamics. With its xDrive all-wheel-drive system, the X5 45e ensures stability and traction in various conditions. The model also features an impressive electric range of up to 31 miles, making it ideal for short commutes or urban trips. As part of BMW’s electrification strategy, the X5 45e represents a seamless transition to hybrid technology, offering drivers the best of both worlds in a premium package.
Targeted at environmentally aware buyers, the X5 45e balances efficiency with the luxury and versatility expected from a BMW SUV. Its advanced hybrid system and refined cabin make it a standout choice in the competitive mid-size luxury SUV segment. Whether navigating city streets or tackling long highway journeys, the X5 45e delivers a sophisticated driving experience. This model underscores BMW’s commitment to innovation and sustainability, appealing to those who value performance and eco-friendliness in harmony.
Key Features of the 2022 BMW X5 45e
The 2022 BMW X5 45e boasts an impressive array of features that make it a standout in its class. Its plug-in hybrid powertrain combines a 3.0L turbocharged inline-6 engine with an electric motor, delivering 389 horsepower and 442 lb-ft of torque. The xDrive all-wheel-drive system ensures optimal traction and stability, while the 8-speed automatic transmission provides smooth gear shifts. The SUV offers an estimated 31 miles of electric-only range, making it ideal for daily commutes. Inside, the X5 45e features a premium cabin with optional Vernasca leather upholstery and ambient lighting. Technology highlights include a 12.3-inch infotainment screen, BMW’s iDrive 7 system, and a suite of driver-assistance features like adaptive cruise control and lane-keeping assist. Optional upgrades include adaptive air suspension for a smoother ride and a panoramic moonroof for added luxury. These features blend seamlessly to create a vehicle that is both powerful and practical.
Why the BMW X5 45e is a Popular Choice
The BMW X5 45e has gained significant popularity due to its blend of luxury, performance, and sustainability. Its plug-in hybrid technology appeals to eco-conscious drivers, offering an impressive electric-only range of up to 31 miles, reducing emissions and fuel costs. The SUV’s powerful 3.0L turbocharged engine and electric motor combination delivers smooth acceleration and ample power for both city and highway driving. Additionally, its premium interior, advanced infotainment system, and robust safety features make it a versatile and practical choice for families and professionals alike. The X5 45e also benefits from BMW’s reputation for reliability and build quality, further enhancing its appeal. Its combination of efficiency, luxury, and driving dynamics makes it a standout option in the competitive SUV market.
Performance and Driving Dynamics
The 2022 BMW X5 45e combines a 3.0L turbocharged engine with an electric motor, delivering 389 horsepower and 442 lb-ft of torque for smooth, responsive acceleration and refined handling.
Engine and Powertrain Specifications
The 2022 BMW X5 45e features a 3.0-liter turbocharged inline-6 engine combined with a powerful electric motor, delivering 389 horsepower and 442 lb-ft of torque. The internal combustion engine is paired with a high-voltage lithium-ion battery, enabling an electric-only driving range for enhanced efficiency. The powertrain is mated to an 8-speed automatic transmission, ensuring smooth and responsive gear shifts. The xDrive all-wheel-drive system provides exceptional traction and control, making the X5 45e adept in various driving conditions. This hybrid system is designed to optimize both performance and efficiency, appealing to drivers who seek a balance between power and environmental consciousness.
Acceleration and Top Speed
The 2022 BMW X5 45e delivers impressive acceleration, going from 0 to 60 mph in just 5.3 seconds. Its hybrid powertrain ensures smooth and responsive performance, while the top speed is electronically limited to 146 mph. The combination of a powerful turbocharged engine and electric motor provides seamless power delivery, making the X5 45e feel agile and dynamic on the road. Whether in electric-only mode or hybrid operation, the vehicle maintains a refined and quiet driving experience. The sporty acceleration is complemented by precise handling, making it a joy to drive in various conditions. This balance of performance and efficiency makes the X5 45e a standout choice for drivers seeking both excitement and practicality.
Hybrid Technology and Fuel Efficiency
The 2022 BMW X5 45e combines a 3.0L turbocharged inline-6 engine with an electric motor, producing 389 horsepower and 442 lb-ft of torque. This plug-in hybrid system offers an all-electric range of up to 31 miles, making it ideal for short trips and city driving. The X5 45e achieves an estimated 27 MPG combined and 56 MPGe in hybrid mode, ensuring excellent fuel efficiency. The hybrid powertrain seamlessly switches between electric and combustion power, optimizing performance and efficiency. Regenerative braking further enhances energy recovery, charging the battery during deceleration. With its efficient hybrid technology, the X5 45e reduces emissions and lowers fuel costs, making it a practical choice for eco-conscious drivers. The vehicle also supports fast charging, reaching 80% battery capacity in under 3 hours with a 7.4 kW charger.
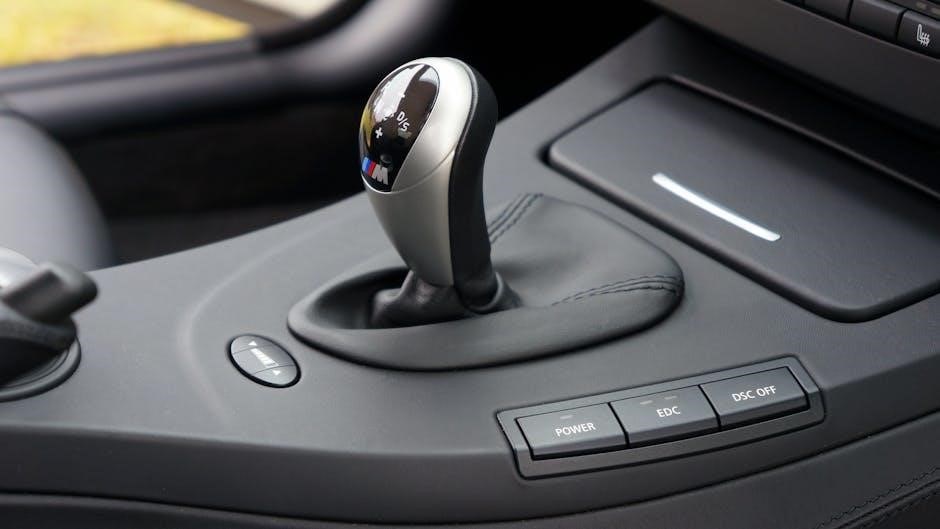
Driving Modes and Handling
The 2022 BMW X5 45e offers a refined driving experience with its advanced driving modes and precise handling. The SUV features Adaptive Air Suspension, which adjusts to road conditions, ensuring a smooth ride and responsive cornering. Drivers can choose between Comfort, Sport, and Electric modes, each tailoring the vehicle’s dynamics to suit preferences. In Electric mode, the X5 45e prioritizes all-electric driving for emission-free operation. The xDrive all-wheel-drive system optimizes traction and stability, enhancing control on various surfaces. The hybrid powertrain delivers instant torque, providing agile acceleration and sporty handling. Regenerative braking is seamlessly integrated, allowing for one-pedal driving in Electric mode. The steering is precise, and the chassis balances comfort and sportiness, making the X5 45e a versatile choice for both urban commutes and dynamic driving scenarios. Its hybrid technology enhances efficiency without compromising BMW’s signature driving dynamics.

Technology and Infotainment
The 2022 BMW X5 45e features the advanced iDrive infotainment system with a 12.3-inch touchscreen, offering intuitive navigation, voice command, and seamless smartphone integration. Wireless Apple CarPlay and Android Auto are standard, while a high-resolution digital instrument cluster and optional gesture controls enhance the driving experience. The system supports over-the-air updates, ensuring the latest features and security. BMW’s Intelligent Personal Assistant allows voice-activated control of settings, while a premium Harman Kardon sound system delivers exceptional audio quality. Multiple USB-C ports and wireless charging keep devices powered. The X5 45e also includes a 360-degree camera system and parking assistant for enhanced convenience and safety. The infotainment setup is both modern and user-friendly, catering to tech-savvy drivers.
BMW iDrive Infotainment System
The 2022 BMW X5 45e features the latest iteration of the BMW iDrive infotainment system, designed for seamless connectivity and intuitive control. The system is centered around a high-resolution 12.3-inch touchscreen display, offering crisp graphics and responsive navigation. iDrive 7.0 introduces a more streamlined interface, with customizable widgets and quick-access shortcuts. Voice command functionality has been enhanced, allowing drivers to control climate, navigation, and entertainment systems naturally. The system also supports wireless Apple CarPlay and Android Auto, enabling effortless smartphone integration. Additionally, the iDrive system includes a digital instrument cluster, providing a unified and modern driving experience. Over-the-air updates ensure the system stays current with the latest features and security enhancements. The intuitive design and advanced functionality make the iDrive system a standout feature in the X5 45e, catering to tech-savvy drivers who value innovation and convenience.
Navigation and Connectivity Features
The 2022 BMW X5 45e is equipped with advanced navigation and connectivity features, ensuring a connected and informed driving experience. The navigation system utilizes a high-resolution 12.3-inch display, offering real-time traffic updates, 3D maps, and precise route guidance. Wireless Apple CarPlay and Android Auto integration allow seamless smartphone connectivity, enabling voice commands and app control. The BMW ConnectedDrive app provides remote access to vehicle status, charging schedules, and navigation destination inputs. Additionally, the X5 45e features a built-in Wi-Fi hotspot, supporting up to 10 devices. The iDrive system also includes natural voice command functionality, allowing drivers to input destinations or search for points of interest effortlessly. With over-the-air map updates, the navigation system stays current, ensuring accurate directions and enhanced convenience on the go.
Driver Assistance and Safety Technology
The 2022 BMW X5 45e is equipped with cutting-edge driver assistance and safety technologies, designed to enhance protection and convenience on the road. The standard Active Driving Assistant includes features like Lane Departure Warning, Blind Spot Detection, and Speed Limit Information, which help prevent accidents by monitoring the vehicle’s surroundings. Adaptive Cruise Control with Stop & Go functionality allows for semi-autonomous driving, maintaining a safe distance from traffic ahead. Emergency Braking and Pedestrian Detection systems are also integrated, automatically applying the brakes in critical situations. The X5 45e further benefits from a 360-degree camera system, providing a comprehensive view of the vehicle’s perimeter for easier parking and maneuvering. These advanced safety features, combined with BMW’s robust build quality, ensure a secure and confident driving experience. Additionally, the vehicle’s hybrid powertrain includes safety measures like automatic eDrive mode, optimizing efficiency without compromising safety.
Smartphone Integration and App Compatibility
The 2022 BMW X5 45e offers seamless smartphone integration through its advanced iDrive infotainment system. Apple CarPlay and Android Auto are supported, enabling users to access their favorite apps, navigation, and music directly from the dashboard. Wireless connectivity ensures a clutter-free experience, while voice command functionality via Siri or Google Assistant enhances convenience. The BMW ConnectedDrive app allows owners to monitor and control various vehicle functions remotely, such as checking the battery level, scheduling charging times, and even preconditioning the cabin temperature. This level of integration ensures a connected and intuitive driving experience, keeping you entertained, informed, and in control on the go.
Design and Interior Comfort
The 2022 BMW X5 45e combines sleek exterior lines with a luxurious interior, featuring premium materials, ample legroom, and ergonomic seating. The panoramic moonroof enhances the sense of space and light.
Exterior Design and Styling
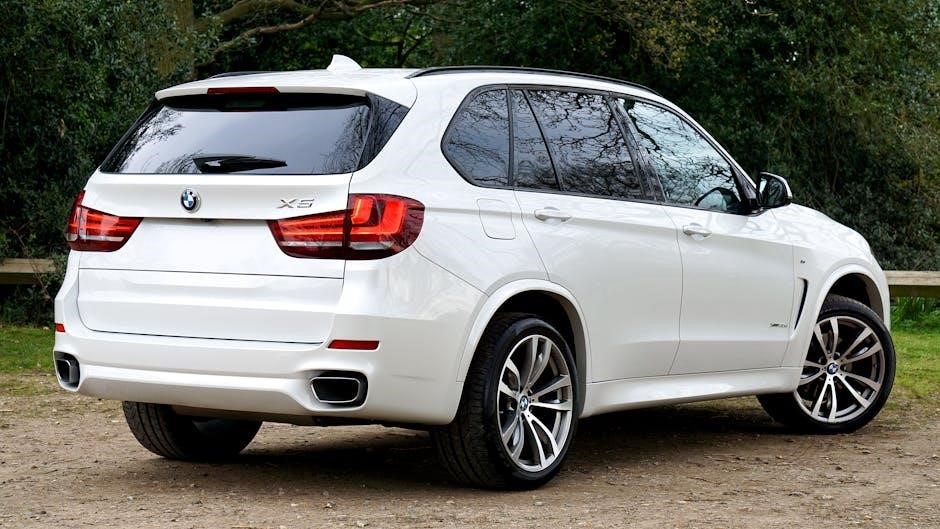
The 2022 BMW X5 45e boasts a dynamic and sophisticated exterior design, blending sporty elegance with robust SUV proportions. Its front fascia features the iconic BMW kidney grille, flanked by adaptive LED headlights that provide exceptional illumination. The chiseled lines and precise contours emphasize athleticism, while the raised stance and aerodynamic profile enhance both functionality and visual appeal. Premium paint finishes and optional 21-inch alloy wheels further elevate its luxurious presence. The rear is characterized by slim LED taillights and a sculpted bumper, completing the X5’s harmonious and modern aesthetic. Every detail, from the air intakes to the underbody cladding, reflects BMW’s commitment to aerodynamic efficiency and performance. The X5 45e’s exterior styling seamlessly balances power, refinement, and sustainability, making it a standout in its class.
Interior Layout and Material Quality
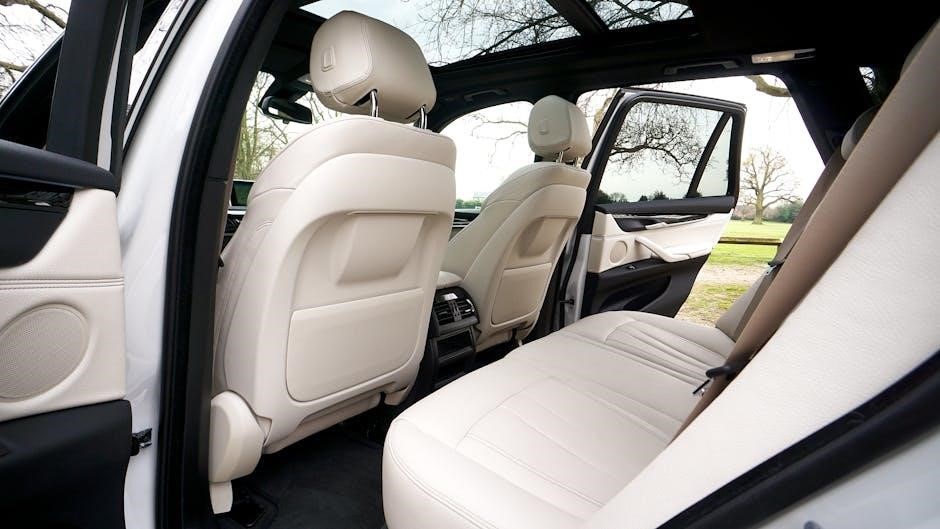
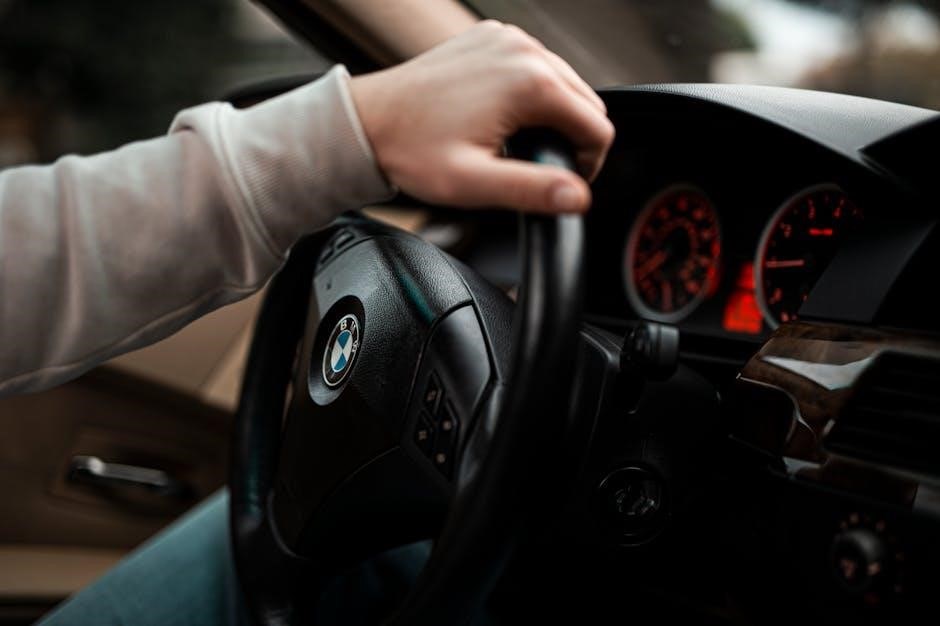
The 2022 BMW X5 45e offers a luxurious and ergonomically designed interior, crafted with premium materials and cutting-edge technology. The cabin features a driver-centric cockpit with intuitive controls, ensuring a seamless driving experience. Upholstered in Vernasca leather, the seats provide exceptional comfort and support, with optional features like ventilated and massaging functions. The dashboard is adorned with soft-touch materials, while wood or aluminum trim options add a touch of sophistication. The panoramic moonroof and ambient lighting further enhance the interior’s refined ambiance. Ample legroom and cargo space ensure practicality, while the BMW iDrive system with voice command and touchscreen functionality integrates seamlessly into the design; Every detail reflects BMW’s commitment to quality and innovation, creating a cabin that balances opulence and functionality.
Seating Capacity and Cargo Space
The 2022 BMW X5 45e accommodates up to five passengers, offering ample space and comfort for both front and rear occupants. The seating arrangement is designed for practicality, with optional third-row seating available for families needing additional capacity. The cargo area provides 33.7 cubic feet of space behind the rear seats, expanding to 71.2 cubic feet when the seats are folded. This versatility makes the X5 45e ideal for daily commutes or weekend adventures. The hybrid powertrain does not compromise cargo space, ensuring that utility remains a key feature. With its spacious interior and flexible seating options, the X5 45e strikes a balance between luxury and practicality, catering to a wide range of lifestyles and needs.
Customization Options and Trim Levels
The 2022 BMW X5 45e offers a variety of trim levels and customization options to suit individual preferences. The base model comes well-equipped with premium features, while higher trims like the xLine and M Sport add unique styling elements, such as exterior accents and sport-tuned suspensions. Buyers can also choose from a range of interior upholstery options, including leather and SensaTec, along with customizable trim finishes like wood or aluminum. Additionally, BMW provides optional packages, such as the Executive Package, which includes advanced lighting and comfort features. The M Sport package enhances the vehicle’s dynamic appearance with aerodynamic body kits and exclusive paint colors. With these options, owners can tailor their X5 45e to reflect their personal style, combining luxury, performance, and functionality in a bespoke driving experience.
Maintenance and Ownership Experience
The 2022 BMW X5 45e requires regular maintenance, with service intervals typically every 12,000 to 15,000 miles. Owners benefit from BMW’s comprehensive service packages and hybrid-specific support programs.
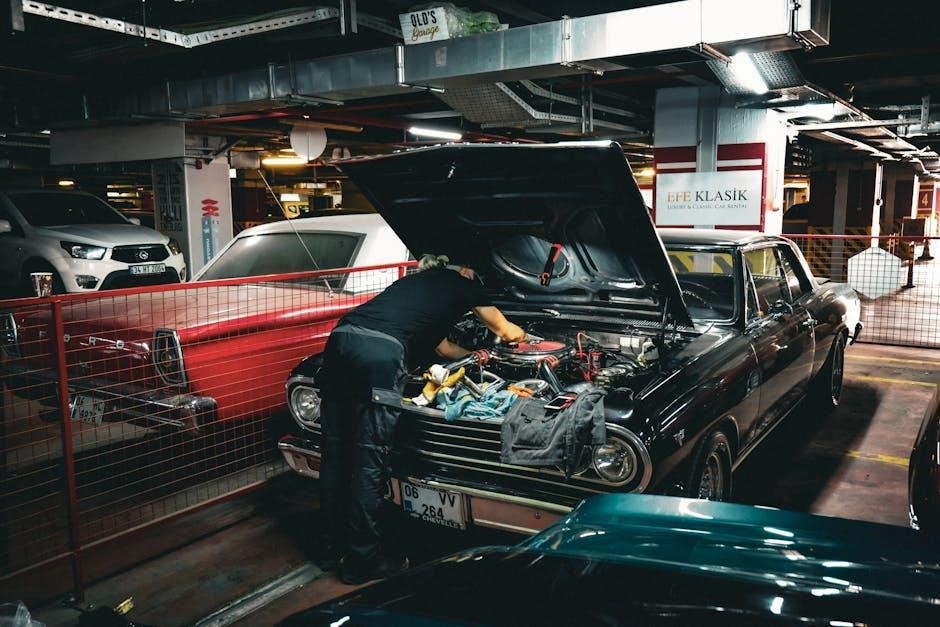
Maintenance Schedule and Cost
The 2022 BMW X5 45e follows a maintenance schedule with intervals typically every 12,000 to 15,000 miles. BMW’s Condition-Based Service system adjusts intervals based on usage, optimizing costs and efficiency. Hybrid components like the battery and electric motor require less maintenance compared to traditional engines, reducing long-term expenses. However, the high-voltage battery may need periodic checks, and brake pads could wear faster due to regenerative braking. BMW offers service packages, such as the Ultimate Care+ program, which covers scheduled maintenance for up to 3 years or 36,000 miles, starting at around $1,100. Additionally, the 45e qualifies for federal and state incentives, lowering overall ownership costs. While parts like the turbocharger and electric motor can be pricey if replaced, the hybrid system’s efficiency often offsets these expenses over time.
Warranty and Service Plans
The 2022 BMW X5 45e comes with a comprehensive 4-year/50,000-mile New Vehicle Limited Warranty, covering defects in materials and workmanship. The high-voltage battery is warranted for 8 years or 100,000 miles, ensuring long-term reliability of the hybrid system. Additionally, BMW offers a 12-year Rust Perforation Limited Warranty for body panels. The vehicle also qualifies for the Electric Vehicle Federal Tax Credit of up to $7,500, reducing ownership costs. Service plans like BMW Ultimate Care+ provide prepaid maintenance for up to 3 years or 36,000 miles, starting at $1,100. For pre-owned models, the Premium Selection Certified Pre-Owned program extends warranty coverage and includes additional benefits. These plans enhance the overall ownership experience, offering peace of mind and financial savings for drivers.
Reliability and Durability
The 2022 BMW X5 45e is known for its robust engineering and durability, reflecting BMW’s reputation for building long-lasting vehicles. The plug-in hybrid powertrain combines a reliable 3.0L turbocharged engine with a high-performance electric motor, both of which are designed to withstand the test of time. Owners have reported minimal mechanical issues, with the hybrid system proving particularly resilient. The battery durability is a standout feature, with BMW’s advanced thermal management system ensuring optimal performance even after years of use; Additionally, the X5’s build quality is exceptional, with premium materials and precise craftsmanship contributing to its overall reliability. Regular maintenance, as outlined in the manual, further enhances the vehicle’s durability, making it a dependable choice for both daily driving and long-term ownership.
Owner Reviews and Feedback
Owners of the 2022 BMW X5 45e have largely praised its performance, comfort, and versatility. Many highlight the smooth transition between electric and combustion engine modes, making it ideal for both city commutes and long-distance trips. The luxurious interior and intuitive infotainment system are frequently commended, with owners appreciating the attention to detail in the cabin design. Some have noted that the hybrid system’s complexity requires a learning curve, but overall, the X5 45e is regarded as a practical yet premium choice. Feedback also emphasizes the vehicle’s quiet ride and responsive handling, which enhance the driving experience. While a few owners mention higher maintenance costs compared to non-hybrid models, the majority agree that the X5 45e delivers excellent value for its blend of efficiency and luxury.
Environmental Impact and Efficiency
The 2022 BMW X5 45e offers a reduced environmental footprint with its plug-in hybrid system. It boasts an electric-only range of up to 31 miles and lower emissions, making it a more eco-friendly option for drivers seeking luxury and sustainability.
Electric Range and Emissions
The 2022 BMW X5 45e offers an impressive electric-only range of up to 31 miles, allowing drivers to complete short trips without using the combustion engine. This makes it an ideal choice for urban commutes or daily errands. The plug-in hybrid system significantly reduces emissions, with a Combined Fuel Economy rating of 56 MPGe. When operating in electric mode, the vehicle produces zero tailpipe emissions, contributing to a cleaner environment. The hybrid powertrain ensures efficient energy use, automatically switching between electric and gas power to optimize fuel efficiency. This combination of electric range and reduced emissions makes the X5 45e a sustainable option for drivers seeking to minimize their environmental impact without sacrificing performance. Its eco-friendly capabilities align with growing demands for environmentally responsible vehicles, offering a balance of luxury and green technology.
Fuel Economy and Cost Savings
The 2022 BMW X5 45e delivers exceptional fuel economy, combining the efficiency of a plug-in hybrid with the performance of a luxury SUV. It achieves an estimated 26 MPG combined and an impressive 56 MPGe, making it a cost-effective choice for daily driving. The electric-only range of up to 31 miles allows drivers to significantly reduce fuel consumption for short trips. Over time, this hybrid system translates to lower fuel costs and reduced emissions. Owners can also benefit from potential tax incentives and rebates for owning a plug-in hybrid vehicle. Additionally, the combination of electric and gas power ensures optimal energy use, further enhancing cost savings. This blend of efficiency and performance makes the X5 45e a practical and economical option for drivers seeking to minimize their environmental impact and fuel expenses.
Environmental Benefits of Hybrid Technology
The 2022 BMW X5 45e exemplifies the environmental benefits of hybrid technology by significantly reducing greenhouse gas emissions and dependence on fossil fuels. Its plug-in hybrid system allows for up to 31 miles of electric-only driving, producing zero tailpipe emissions during this range. This feature is particularly advantageous in urban settings, where it minimizes air pollution and noise. The combination of an electric motor and a turbocharged engine optimizes efficiency, lowering overall emissions compared to traditional gas-powered vehicles. Additionally, the X5 45e supports a cleaner energy future by promoting the use of electricity from renewable sources for charging. By integrating hybrid technology, BMW reduces the environmental footprint of its vehicles, appealing to eco-conscious drivers who seek to balance performance with sustainability.
The 2022 BMW X5 45e stands as a top choice, blending luxurious design, robust performance, and eco-friendly hybrid technology, making it a versatile and appealing option for modern drivers.
Pros and Cons of the BMW X5 45e
The BMW X5 45e offers a compelling blend of luxury, performance, and efficiency, but it also has some drawbacks. On the positive side, its hybrid powertrain delivers excellent fuel economy and reduced emissions, making it an eco-friendly option. The combination of a powerful engine and electric motor provides smooth acceleration and ample power for both city and highway driving. The luxurious interior, advanced technology, and spacious cargo area further enhance its appeal. Additionally, the X5 45e benefits from BMW’s reputation for build quality and reliability.
However, the higher price point compared to non-hybrid models may deter some buyers. The limited electric-only range and smaller cargo space due to the hybrid system are notable drawbacks. Overall, it’s a strong choice for those prioritizing efficiency and luxury but may not be the best fit for everyone.
Comparison with Competitors
The 2022 BMW X5 45e stands out among its competitors like the Audi Q5, Mercedes-Benz GLE, and Volvo XC90. Its hybrid powertrain offers excellent fuel efficiency and lower emissions, appealing to eco-conscious buyers. The X5 45e delivers a refined driving experience, blending sporty dynamics with comfort, a hallmark of BMW. While competitors may offer similar luxury and technology, the X5’s precise handling and responsive steering set it apart. The iDrive infotainment system is also more intuitive compared to some rivals. However, the X5 45e is pricier than some competitors and has slightly less cargo space due to the hybrid system. Despite this, its overall performance, efficiency, and premium features make it a strong contender in the luxury SUV segment.
Future Outlook for the BMW X5 45e
The BMW X5 45e is well-positioned for a promising future, as BMW continues to expand its electrification efforts. With increasing demand for hybrid and electric vehicles, the X5 45e aligns perfectly with market trends. BMW plans to refine its plug-in hybrid technology, likely improving the electric range and efficiency of future models. The integration of advanced driver-assistance systems and infotainment updates will keep the X5 45e competitive. Additionally, BMW may introduce new trim levels or customization options to cater to diverse consumer preferences. As emissions regulations tighten globally, the X5 45e’s hybrid powertrain will remain a key advantage. With its blend of luxury, performance, and sustainability, the BMW X5 45e is expected to maintain its strong presence in the luxury SUV segment for years to come.